Last semester I had the amazing opportunity to take Rachel Pollack’s Millinery course. I had never made hats before and the learning process was a ton of fun. I particularly enjoyed blocking hats in straw and felt and so for my final project I elected to attempt to recreate a hat block using a digital scanner and the University’s 3D printing lab.

The hat block I chose to reproduce is actually a reproduction itself created by previous graduate student Candy McClernan from two part foam poured into a plaster negative. For more information on that process please read Rachel’s excellent write up on the process on her blog La Bricoleuse.
I started out by painting the block black with crayola washable paint since I had been told that objects scanned best when painted matte black. This turned out to be not true. According to my latest information, objects scan best when painted a matte medium grey. The more you know!

I then scanned my block using the 3D scanner at UNC’s Makerspace and received a finished print a few days later. In total my block took 13 hours to print. The cool two tone effect was caused by the printer running out of black color half way through. Since trials showed that the 3D printed plastic could not be pinned into I decided to add a wooden base to the block below the rope line to make the block pin-able. The indentation on the bottom was designed to help align the wooden base.


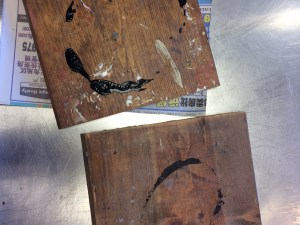
I cut the base from two pieces of solid wood of unknown type using a band saw and smoothed them into shape with a belt sander. I then glued the layers together and fit them into the block.


Finally! I had a block!
To prove that it could withstand the heat I blocked a felt hood on it and it held up beautifully with no melting whatsoever.

The finished product!

If you are interested in trying this project for yourself the printing file for this block is available for for free on Thingaverse.

